Create EC2 Instance with tag
Create EC2 Instance with Tags
- Visit AWS Management Console, in the search bar find
EC2
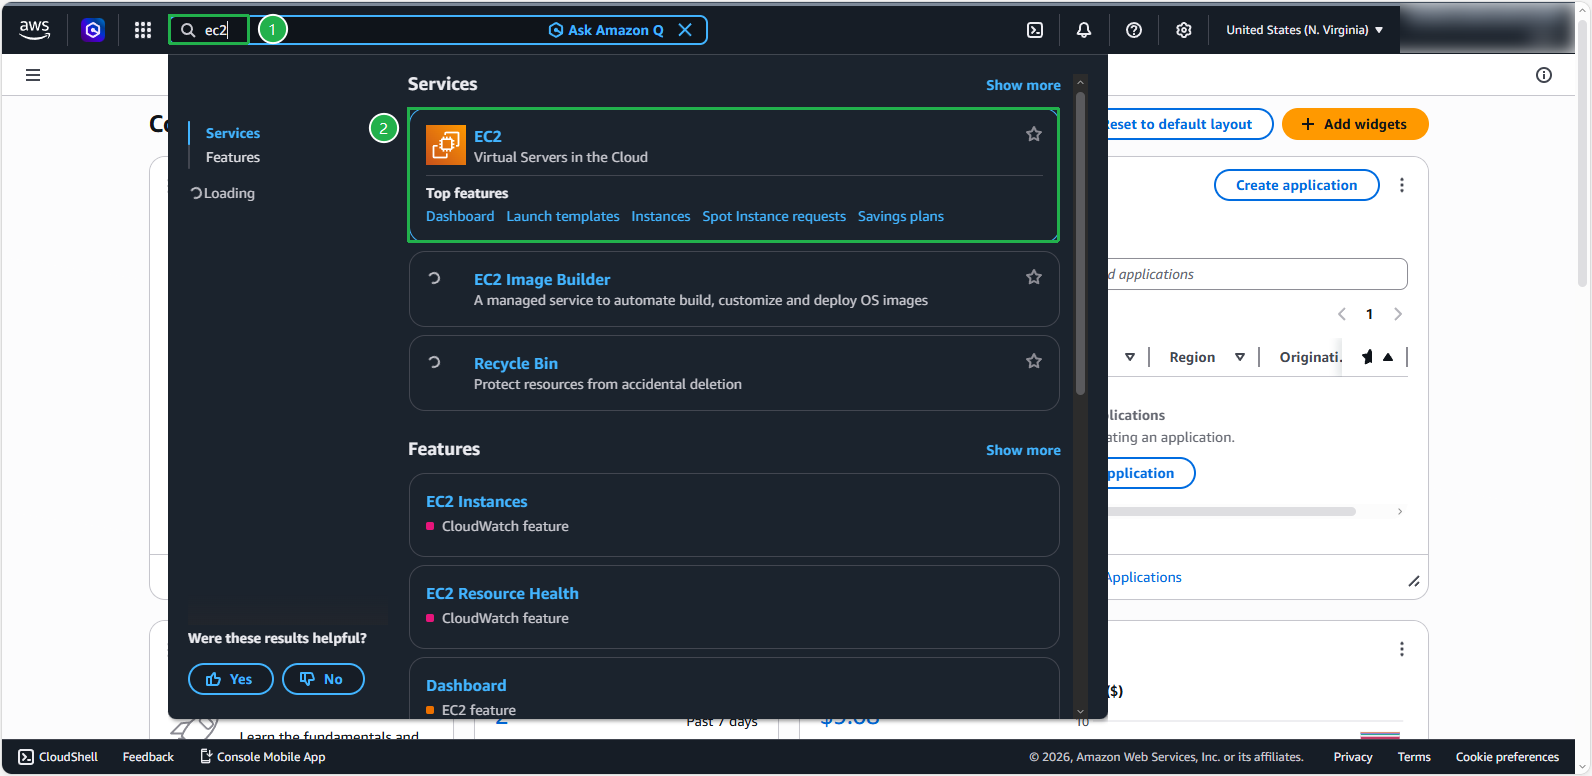
Note: In this workshop, we will use the N. Virginia region (us-east-1). If you want to use another Region, be sure to move the Region back to the Region you want to use when creating workshop-related resources.
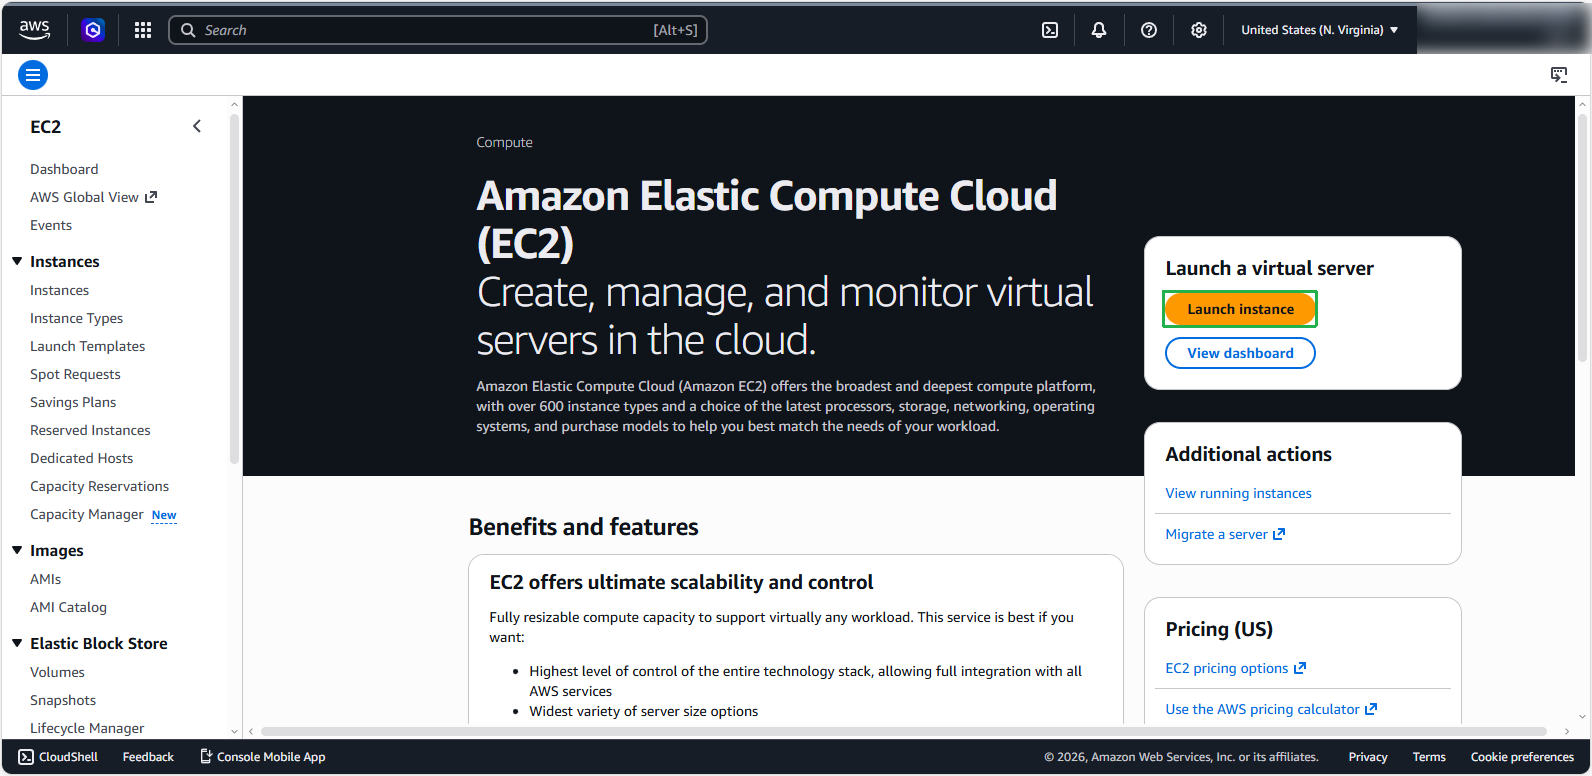
In the EC2 console, click Launch instances
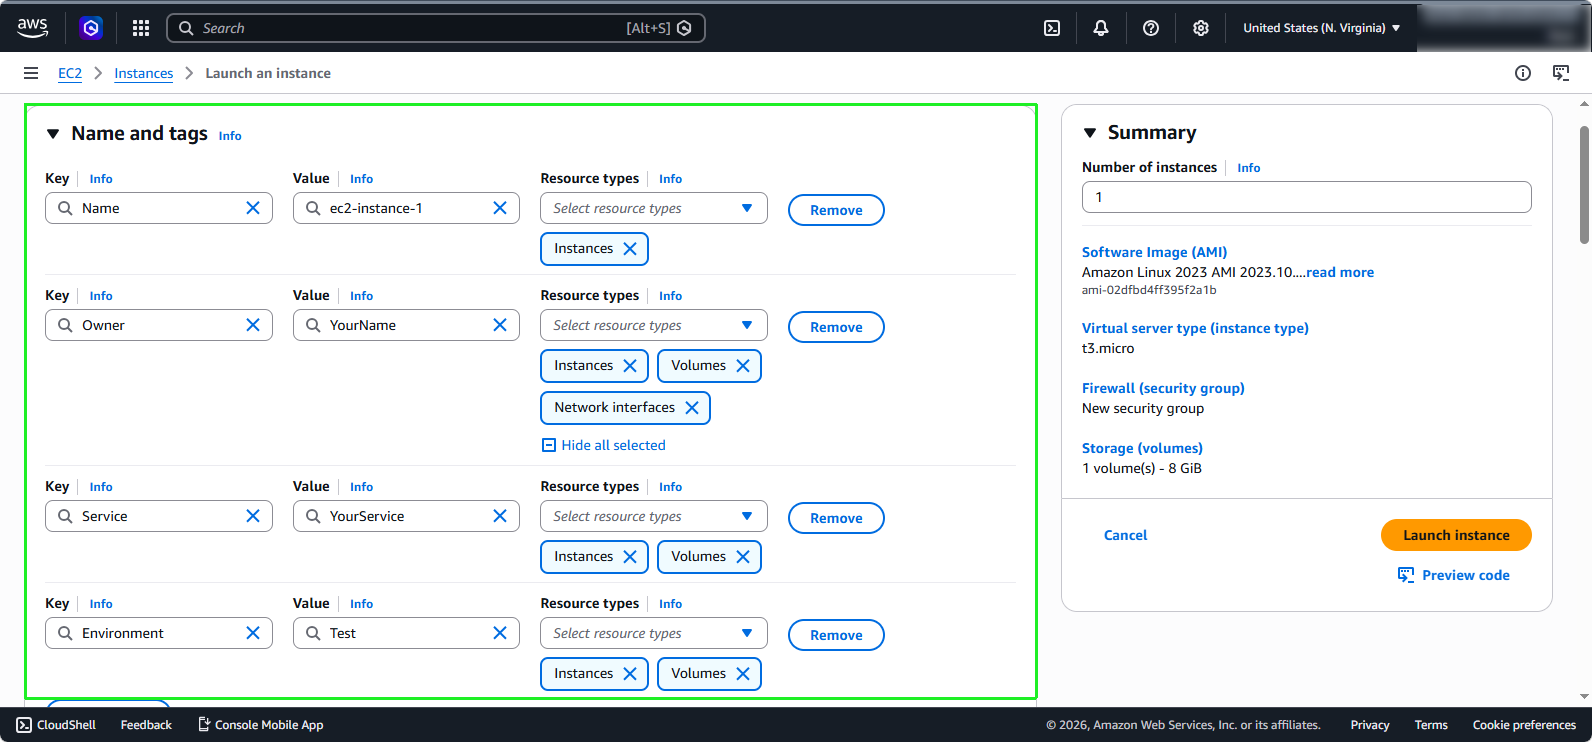
For the instance name, enter
ec2-instance-1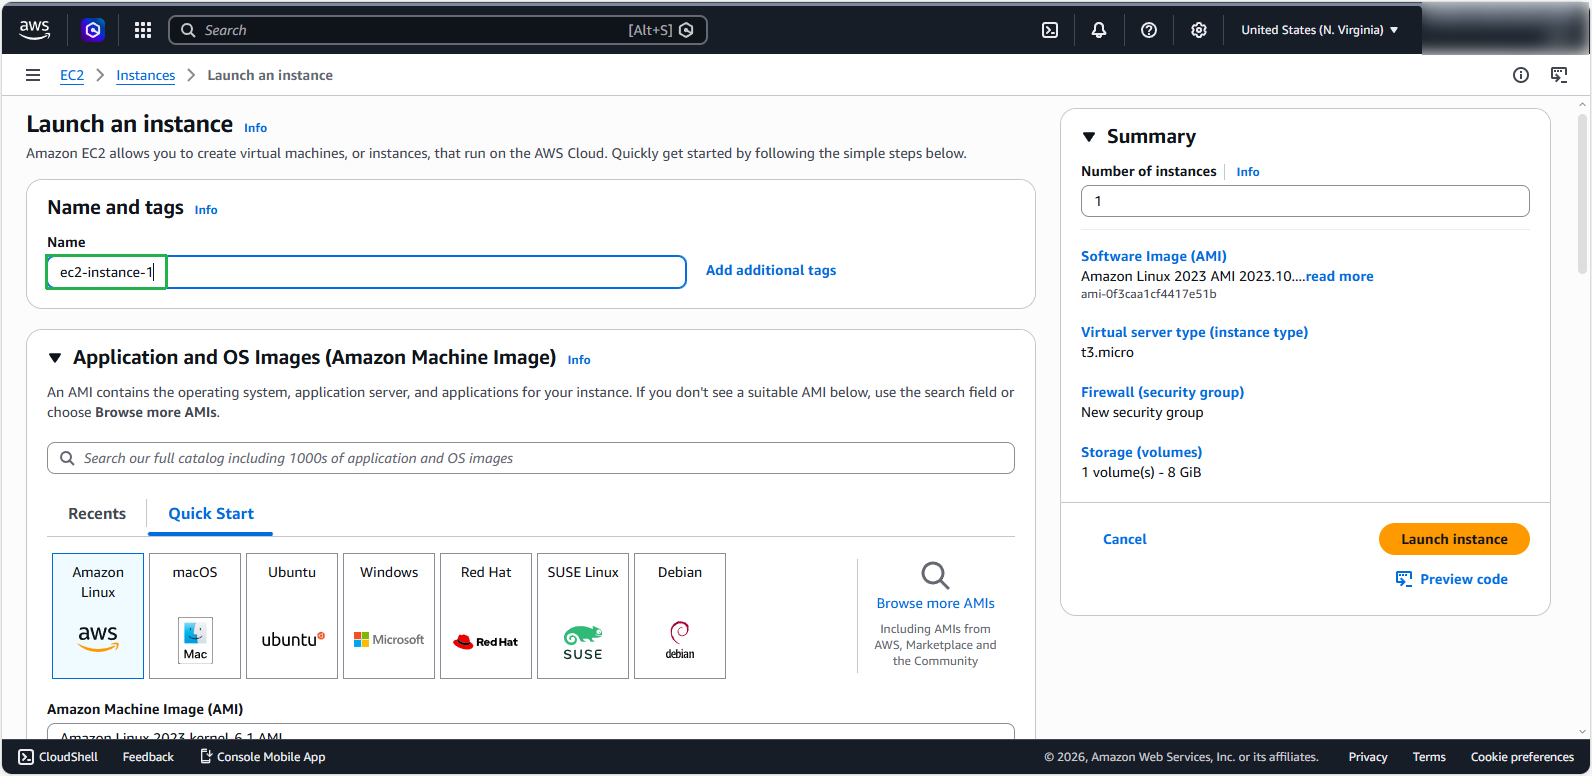
Click Add additional tags to proceed with adding tags.
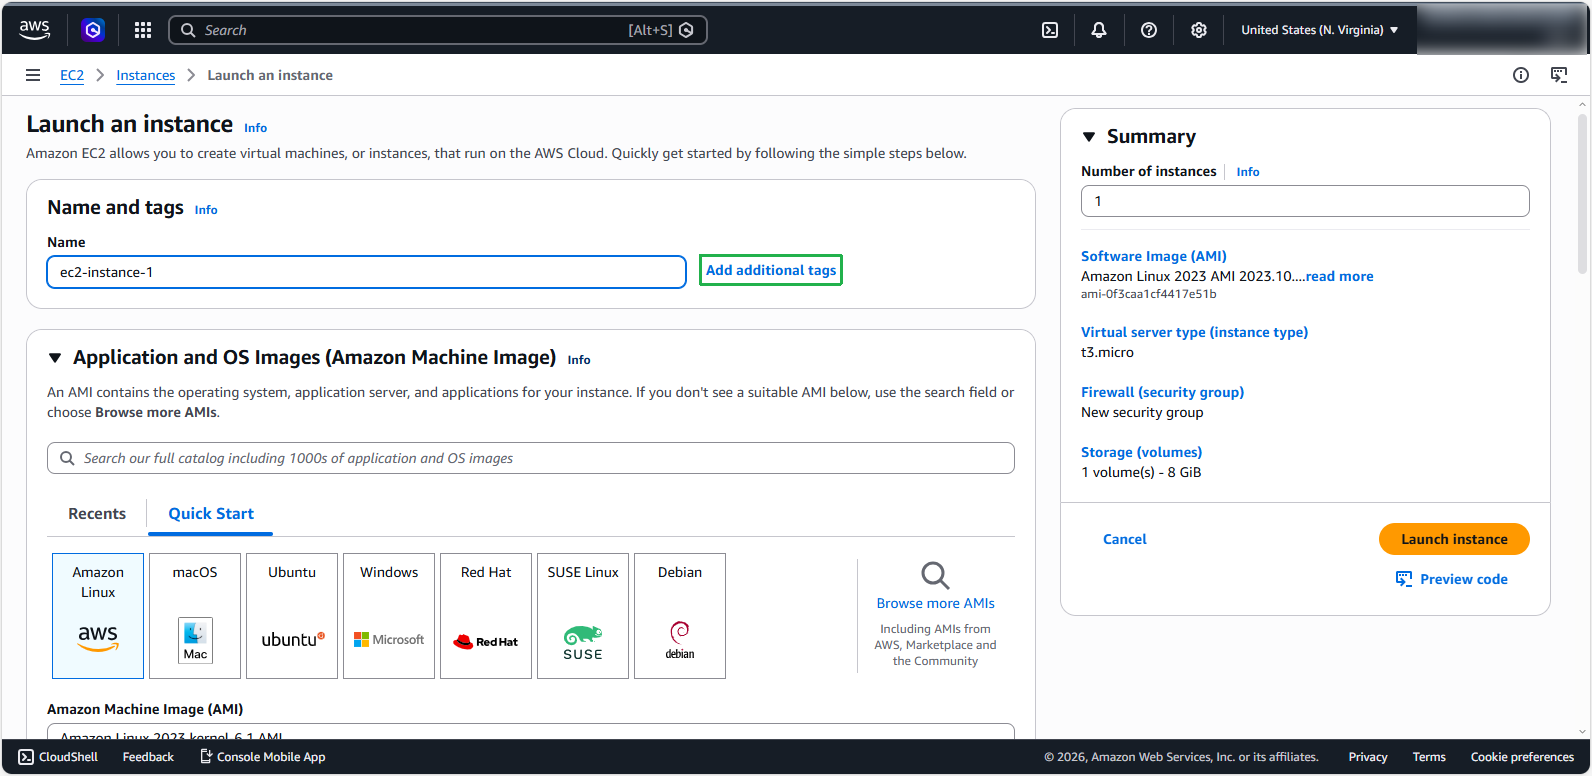
Enter the key and value in the table below:
Key Value Resource Types Owner YourName• Instances
• Volumes
• Network interfacesService YourService• Instances
• VolumesEnvironment Test• Instances
• Volumes
Tip: You can download the best-practices guide to implementing an effective AWS resource tagging strategy below.
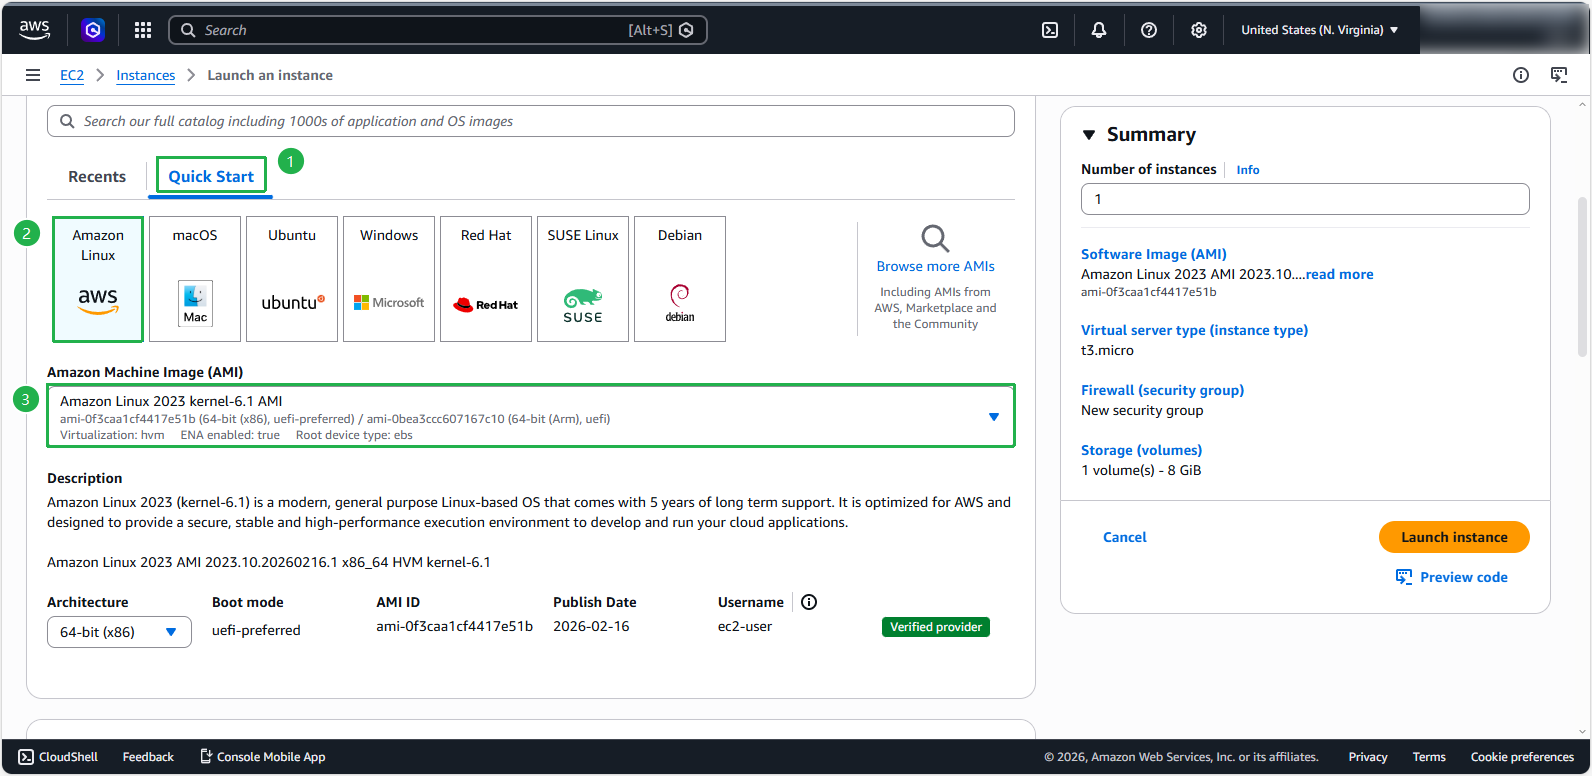
For the operating system:
- Select Quick Start
- Choose Amazon Linux
- Select Amazon Linux 2023 AMI.
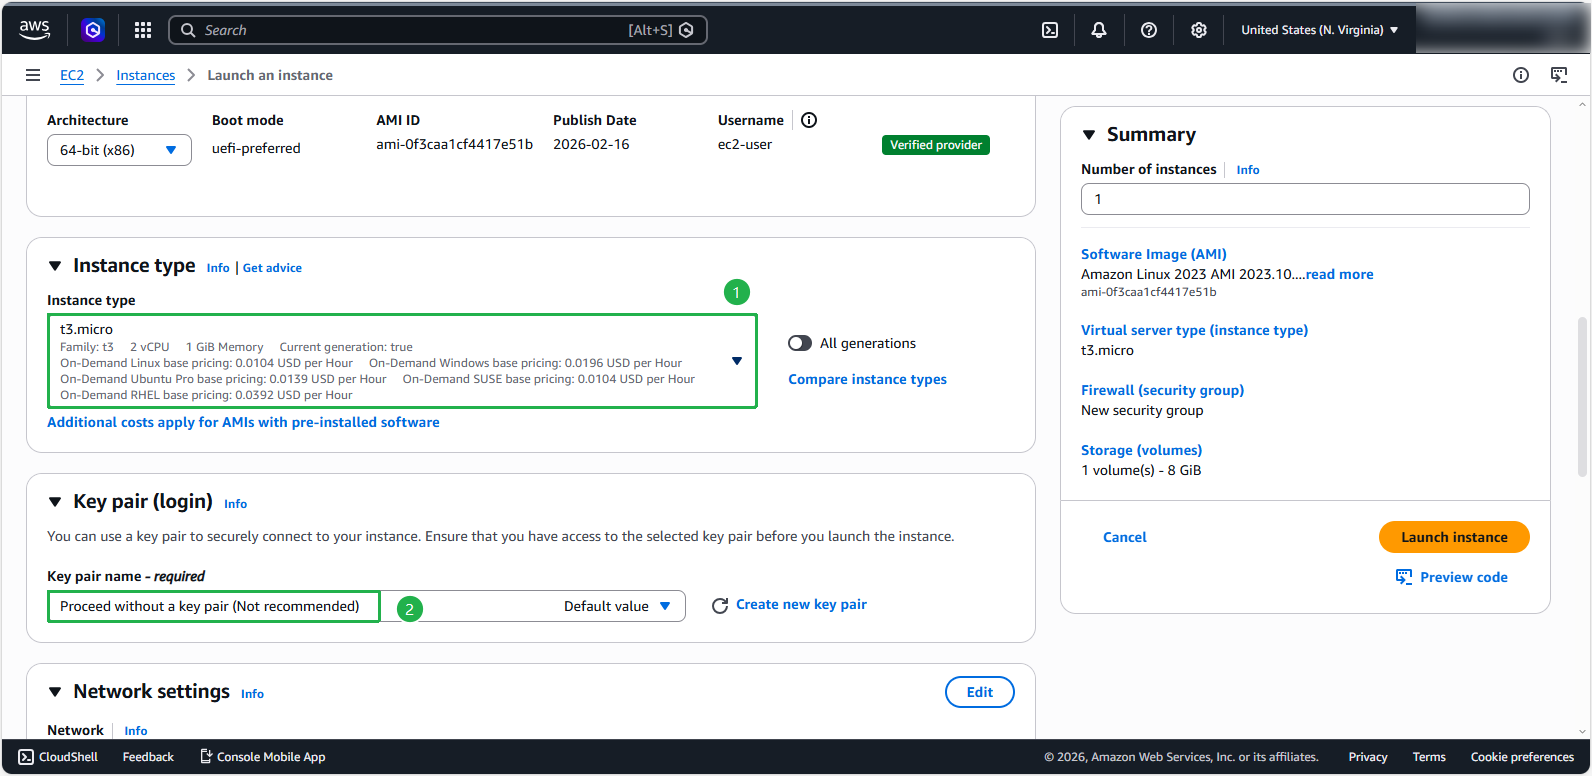
For compute resources:
- Select t3.micro instance type
- Key pair: choose Proceed without a key pair (Not recommended)
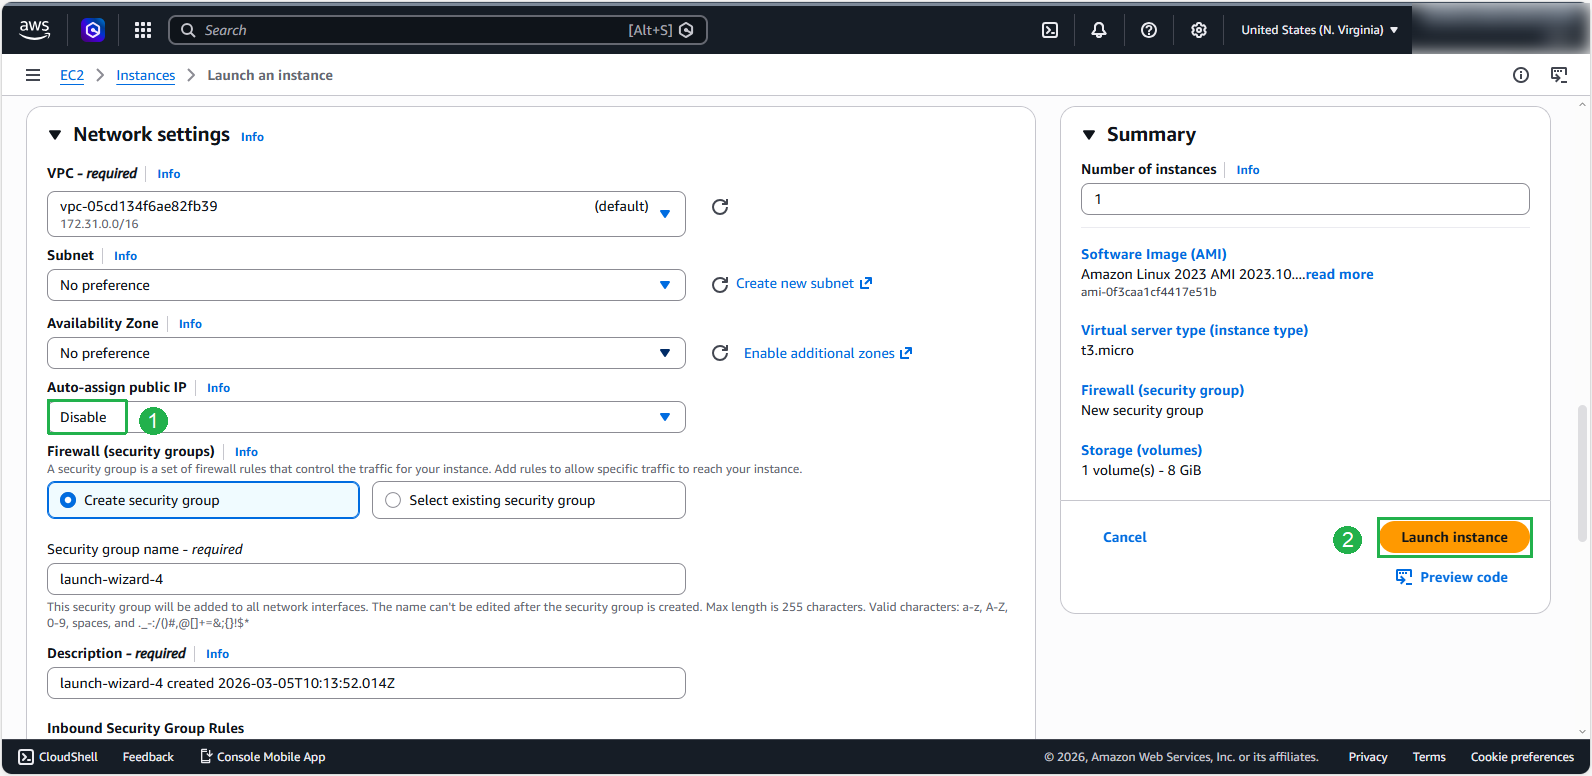
Choose Edit to configure network:
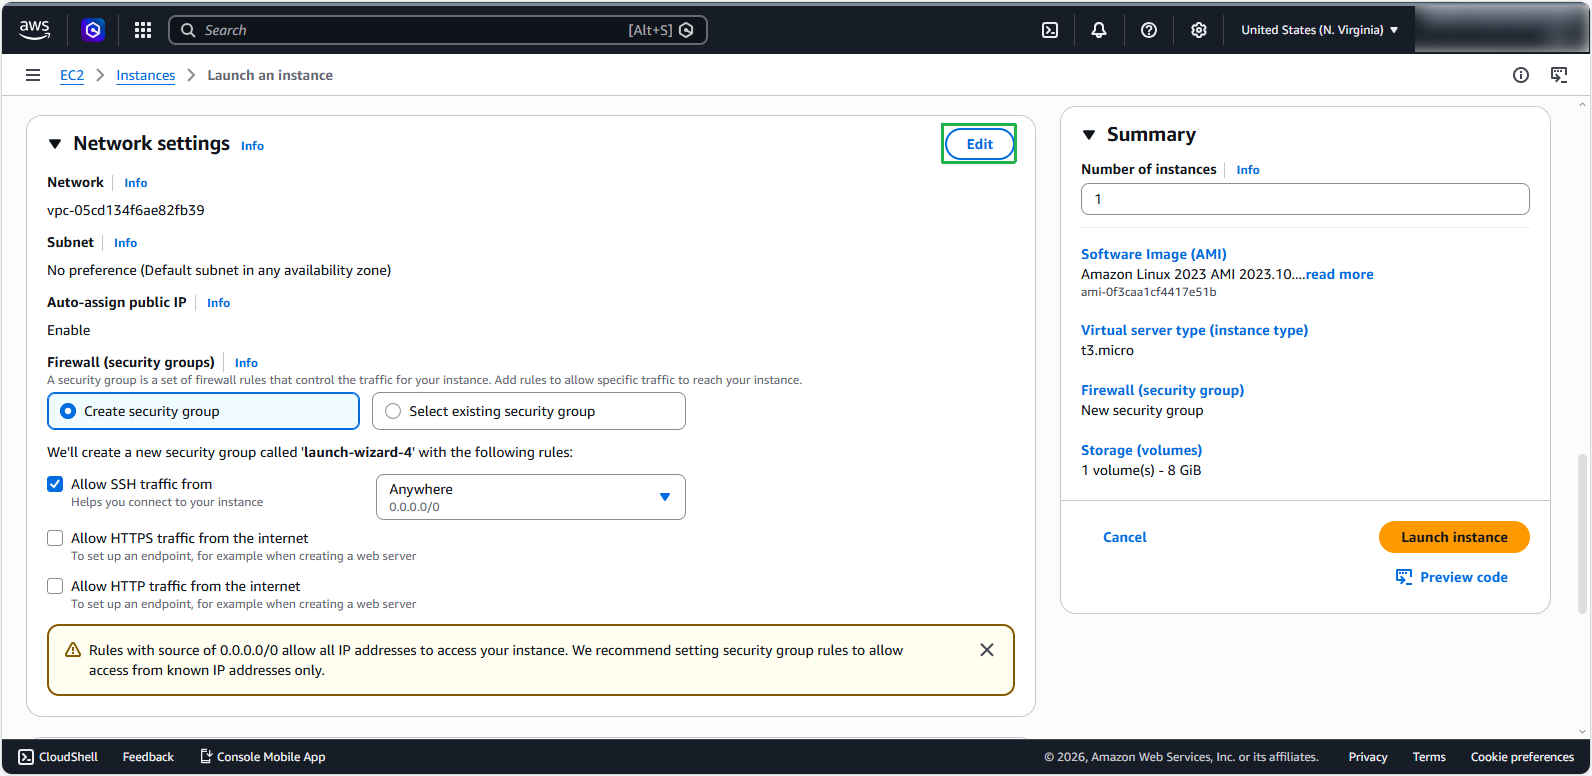
Disable Auto-assign public IP. Other settings we leave it at default.
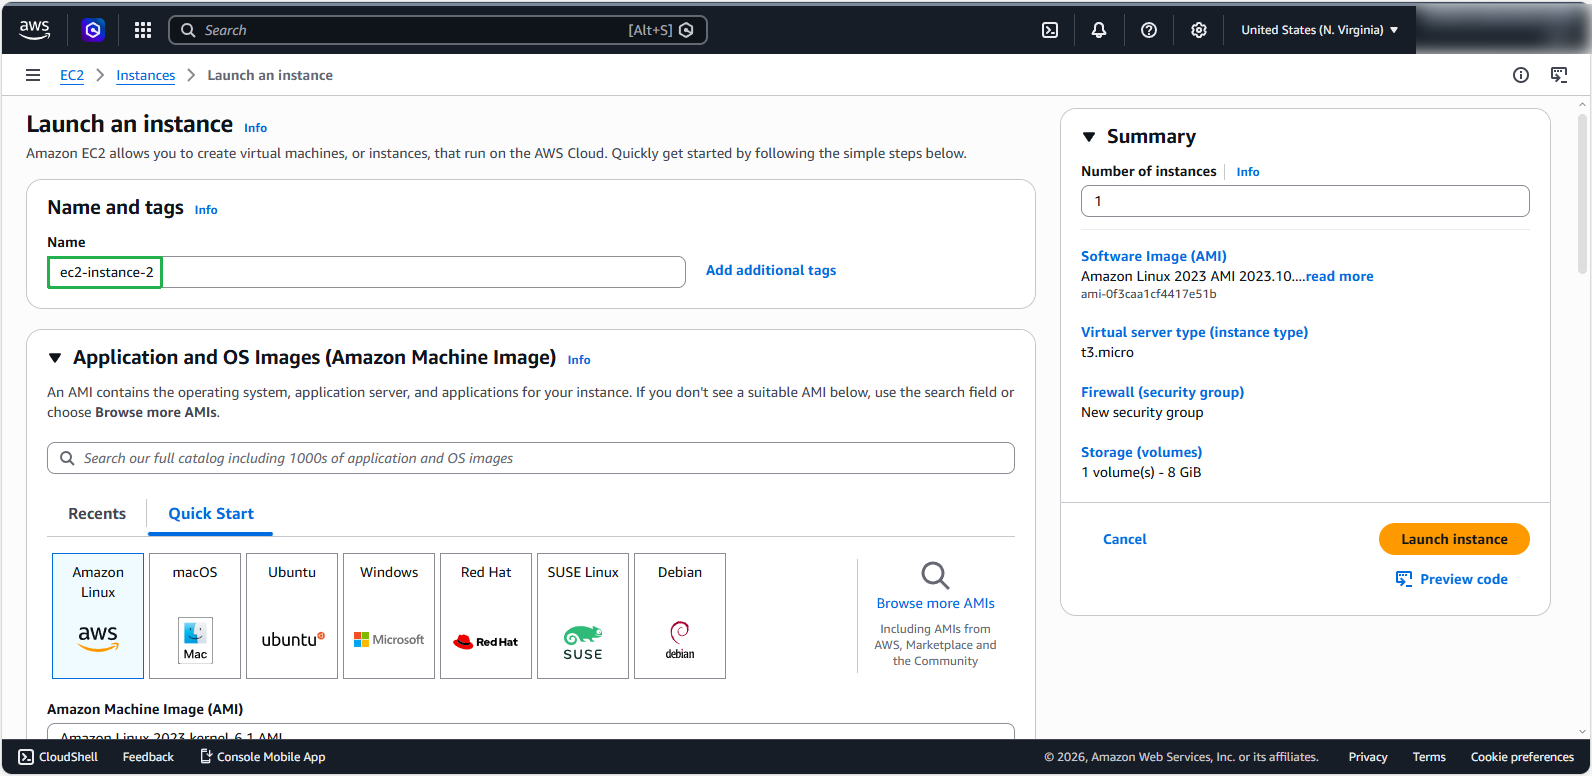
Repeat steps 1 - 6 to create additional EC2 Instance named
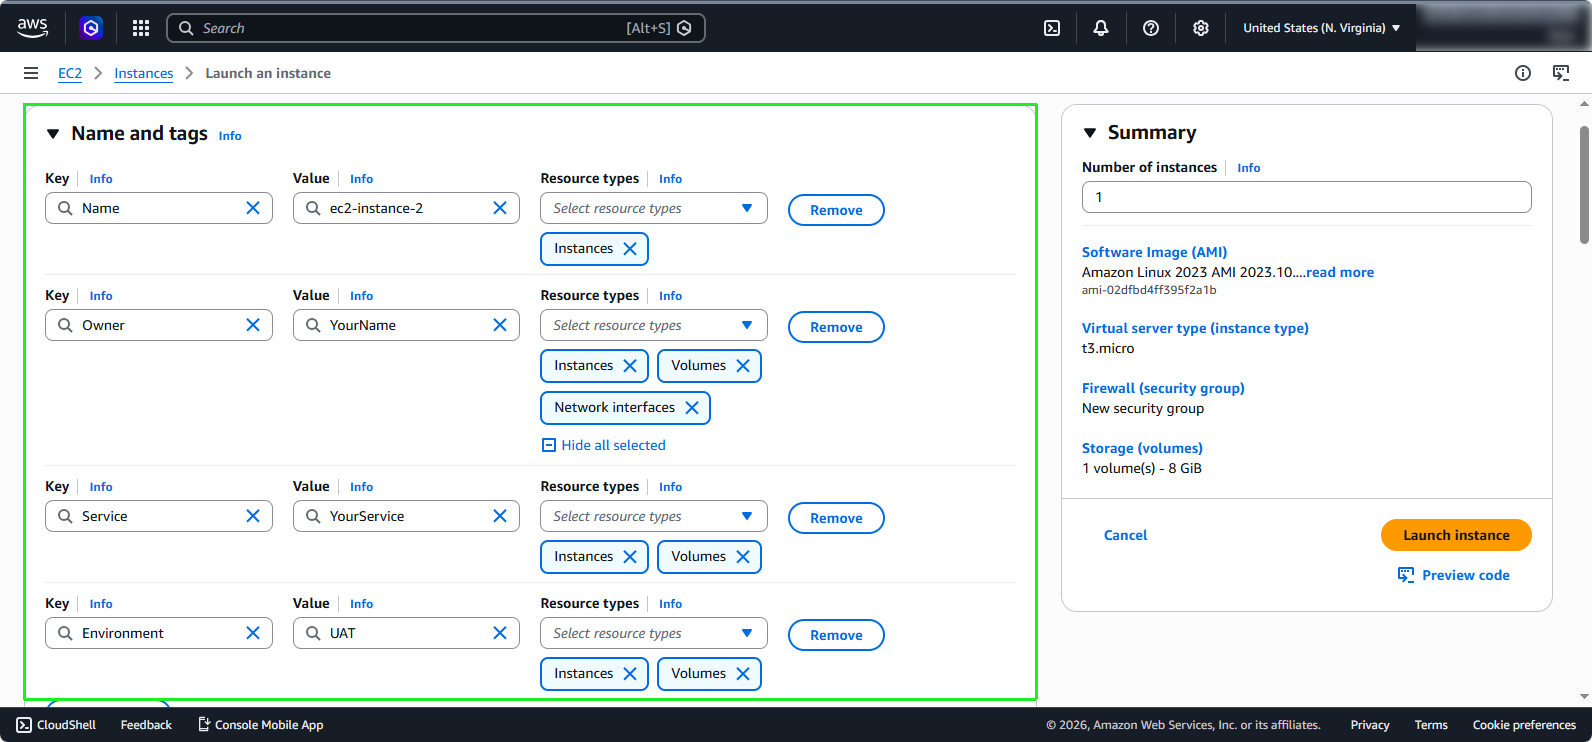
ec2-instance-2with the following Tags:Key Value Resource Types Owner YourName• Instances
• Volumes
• Network interfacesService YourService• Instances
• VolumesEnvironment UAT• Instances
• Volumes
Click Launch to proceed with creating your EC2 instance.
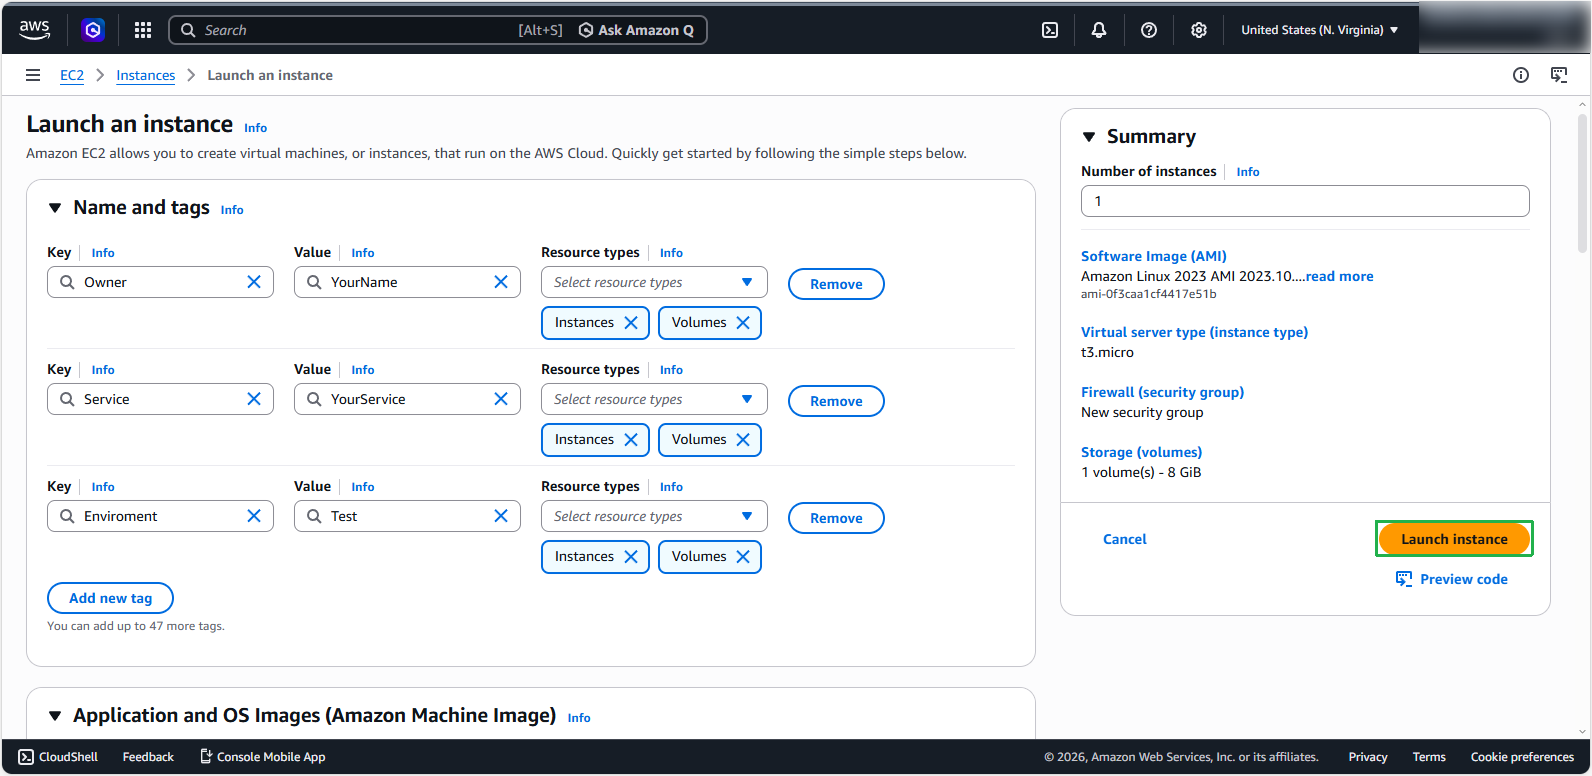
Verify ec2-instance-1 and ec2-instance-2 created successfully .
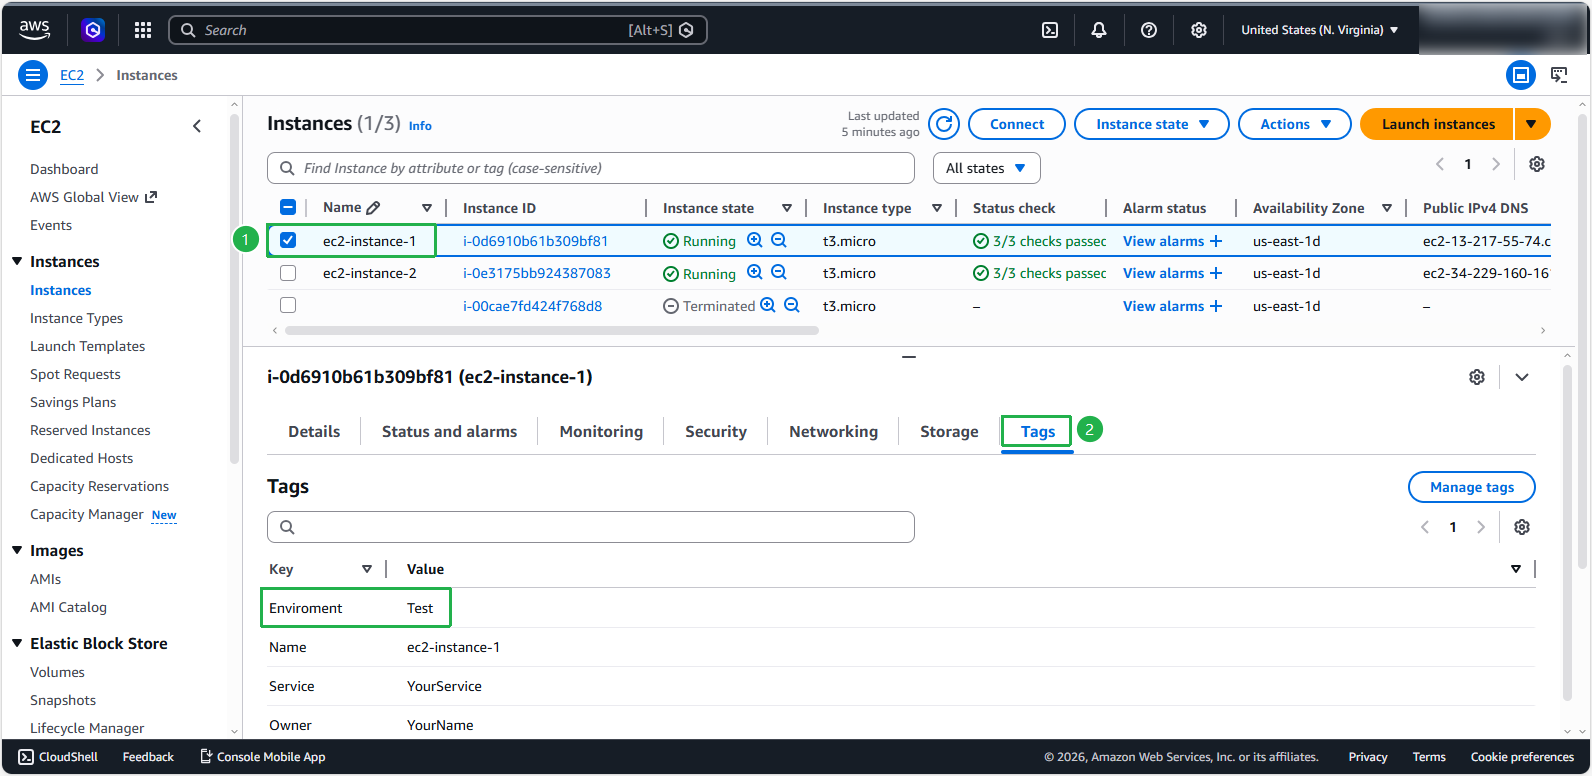
Click on the instances we just created.
- Click the Tags tab to check the created tags.
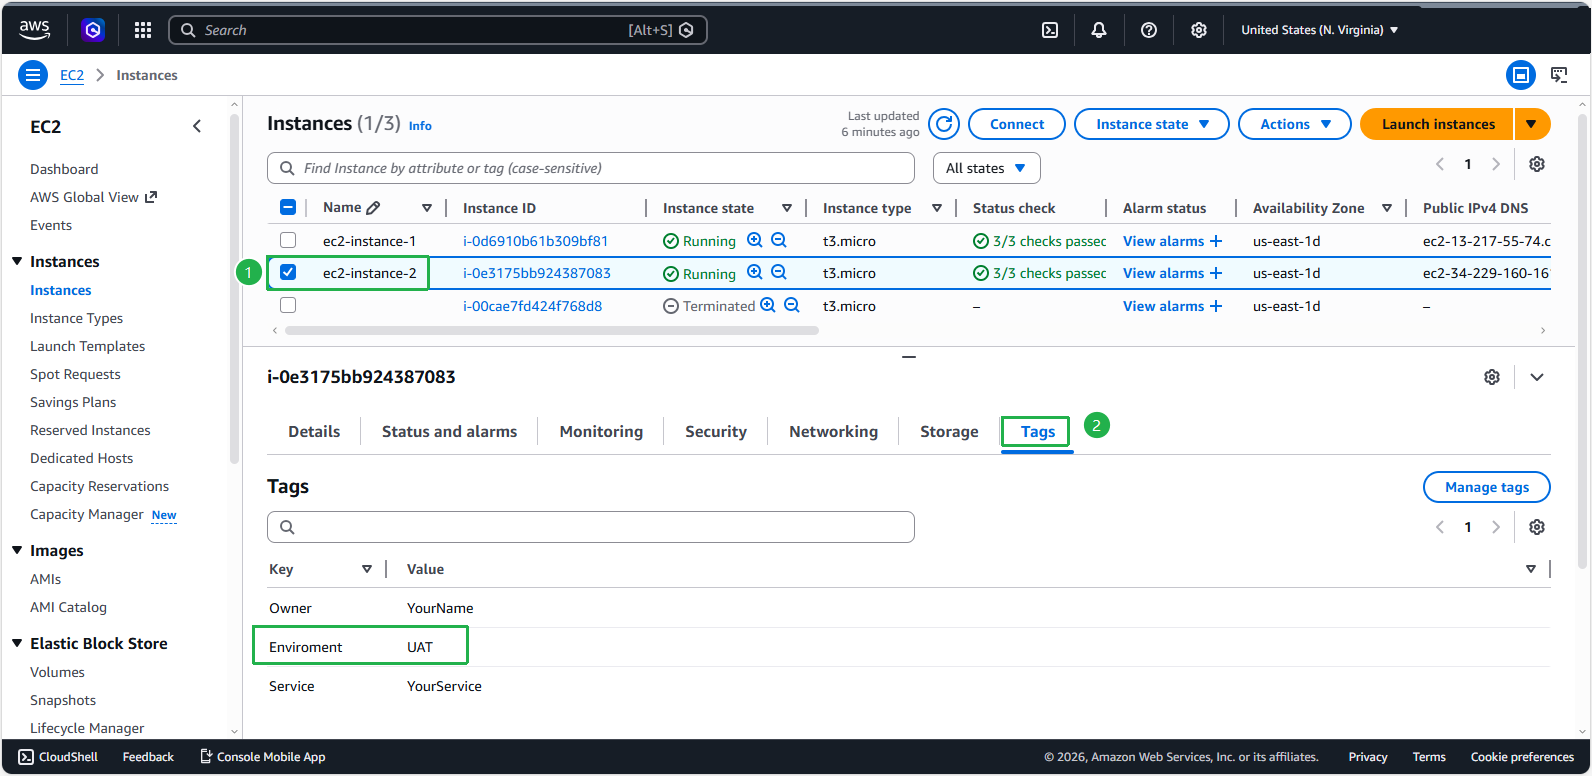
- Click the Tags tab to check the created tags.
Next, we will modify these tags.